
A thermal auger drilling is not just about screwing a bit into the ground until water is found. The choice of drilling diameter, the type of terrain traversed, and the management of the casing determine the success or failure of the project, well before the depth reached.
Bit diameter and motor torque: the technical sizing of the drilling
Most consumer guides recommend a thermal auger without specifying the relationship between bit diameter and motor torque. We recommend starting with the diameter of the final tube to work back to the choice of the bit, rather than the other way around.
You may also like : How to Properly Use a Gas Lawn Mower?
A standard PVC catch tube requires a pilot hole with a diameter at least 20 mm larger than the final tube. If the tube is 80 mm, the bit must reach at least 100 mm. Beyond 150 mm in diameter, the torque required exceeds the capacity of most thermal augers available for rent or purchase by individuals.
In compact clay terrain, lateral friction increases rapidly with depth. After a few meters, a bit that is too wide in sticky soil can block rotation and push the motor beyond its limits. We observe that DIY drilling failures often stem from an oversized bit rather than a lack of power.
Read also : Buying a gas auger: how to avoid making a mistake?
A rarely discussed point: the rotation speed. A thermal auger spins much faster than a professional rotary drill. This speed is suitable for loose and sandy soils, but in heterogeneous terrains (alternating clay, gravel, friable rock), it causes overheating of the bit and rapid clogging of the helix. Reducing the throttle and pulling up the bit every thirty to fifty centimeters of descent limits this risk.
To prepare a DIY well drilling, the choice of equipment must therefore be made based on the nature of the soil identified beforehand, not just the targeted depth.
Reading the terrain before drilling: what local geology dictates
Drilling without knowing the local stratigraphy is like working blind. The geological map at 1/50,000 from the BRGM, available for free, provides a first indication of the nature of the layers traversed and the probable depth of the water table.
A rocky soil or a layer of compact rock makes thermal auger drilling impossible, regardless of the power of the motor. The auger is a tool for drilling by rotation and extraction of loose material. It does not penetrate rock. If the geological map indicates hard limestone at shallow depth, the project must be abandoned or entrusted to a professional driller equipped with a down-the-hole hammer.
The piezometric level (depth of the water table) varies with the season and recent rainfall. Drilling at the end of summer, when the water table is at its lowest, provides a reliable indication of the minimum capture depth. Drilling in spring after heavy rains can give a false impression of ease, with a well that dries up by July.
Surface indicators to check
- Presence of old wells in the vicinity: asking neighbors about the depth and flow observed is the most reliable source at the scale of a plot.
- Hygrophilous vegetation (willows, reeds, bulrushes) indicating a shallow water table, often within a few meters.
- Color and texture of the surface soil: a brown-black organic soil over gray clay indicates water-saturated ground, favorable for shallow drilling.
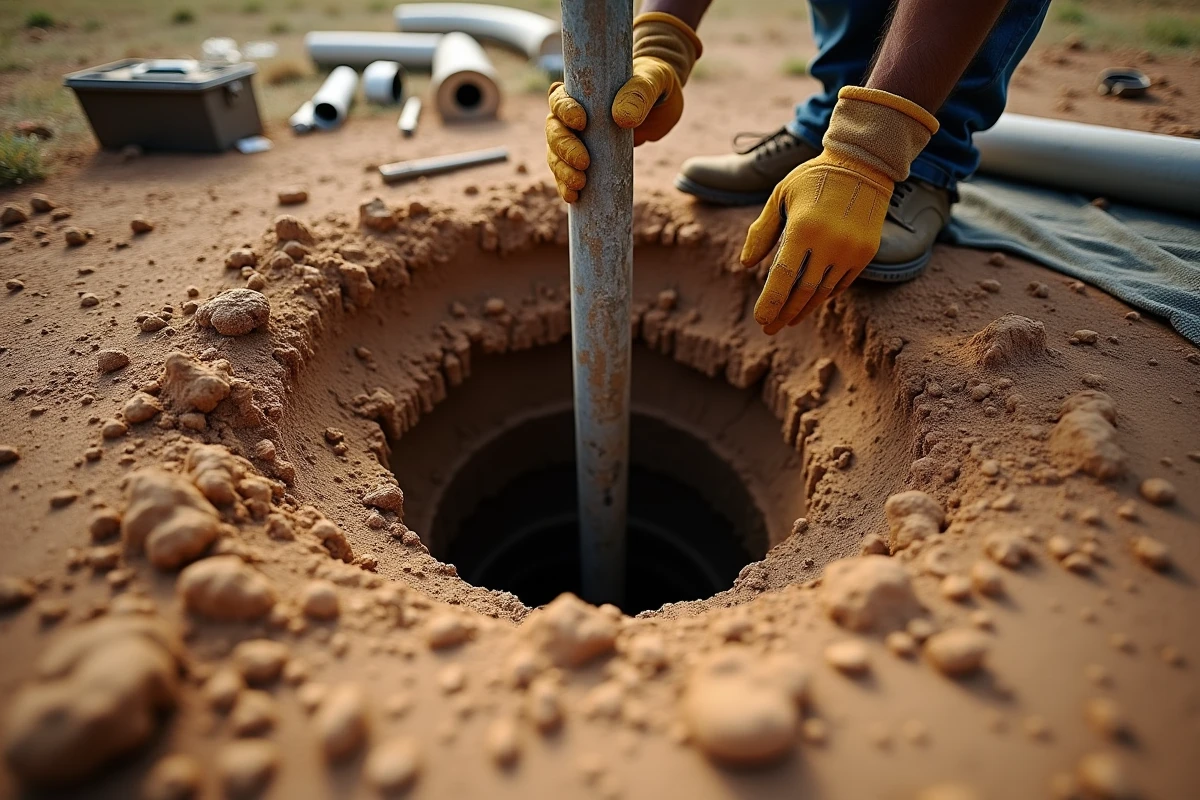
Casing and screen: securing the catch after drilling
The drilling itself represents only half of the work. Without a properly installed casing, the well collapses or clogs within a few weeks. The pre-tube, installed from the first few meters, prevents wall collapse in unstable soils.
The final pressure PVC tube (not drainage PVC, which is too fragile) extends down to the water table. Its lower part, called the screen, is perforated with calibrated slots to allow water to pass while retaining sand. The choice of slot width depends on the grain size of the aquifer soil.
In fine sandy soil, slots that are too wide allow sand to pass through, clogging the pump. In coarse gravel, slots that are too narrow limit flow. The grain size of the soil at the water table determines the type of screen, not the other way around. A soil sample taken at the capture depth allows for the correct opening to be chosen.
Annular space and filter pack
The space between the tube and the wall of the borehole (annular space) must be filled. At the bottom, at the level of the screen, calibrated gravel (filter pack) improves flow and protects the slots from clogging. At the top, a clay or bentonite plug seals the borehole to prevent surface water infiltration, which may be polluted.
Declaration at the town hall and regulatory obligations for domestic drilling
Any extraction of groundwater for domestic use (including watering) must be declared at the town hall at least one month before the start of work. This obligation, enshrined in the Environmental Code, is subject to increased controls in certain departments, particularly in areas under stress regarding water resources.
The declaration concerns any drilling that captures a water table, regardless of depth. Failing to declare exposes one to a fine and, above all, to a refusal of coverage by home insurance in the event of a claim related to water quality or ground collapse.
If the water from the well is intended for drinking use (even a simple garden tap connected to the house), a potability analysis is required. Several insurers now condition coverage for claims related to the well on the prior completion of this analysis.
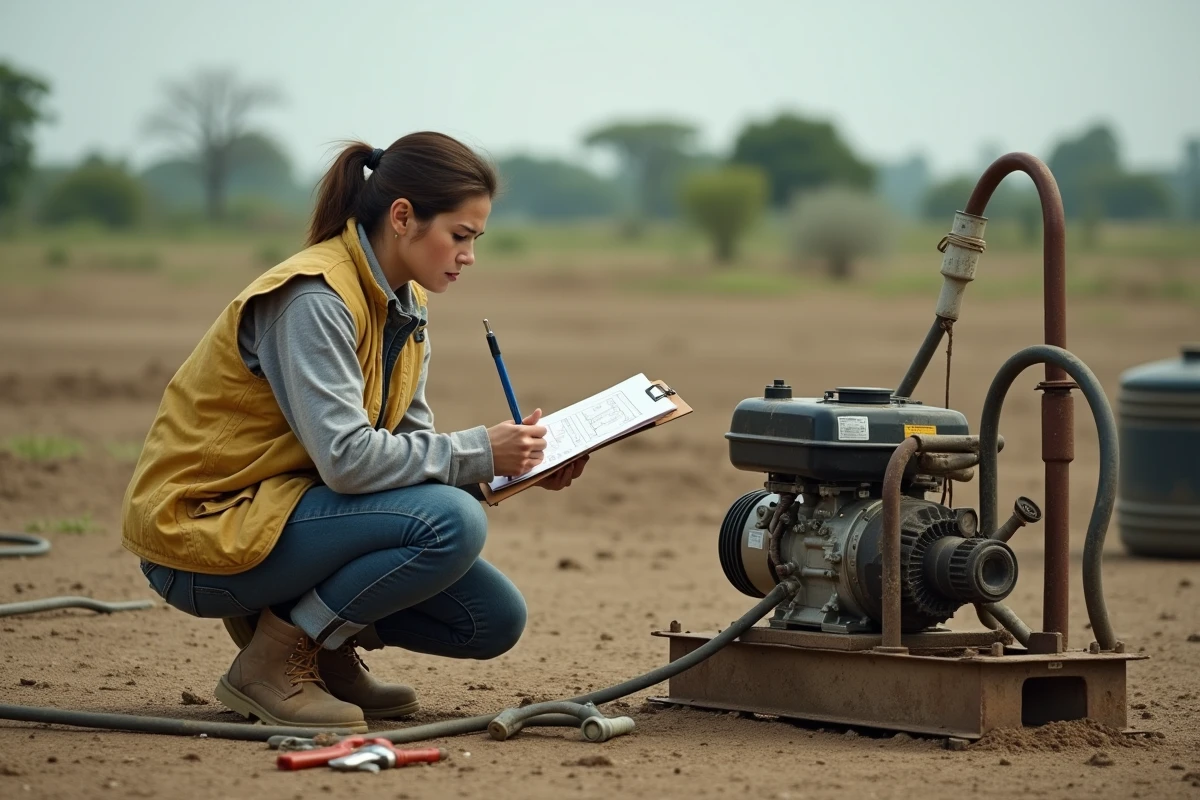
The cost of professional drilling ranges from a few thousand to several thousand euros depending on the depth and terrain. A failed DIY drilling that requires the intervention of a professional for a second drilling negates any savings. It is better to invest time in preparing the terrain and sizing the equipment than to rush the project.